How to Create a Badge System in Plone
With thousands of volunteers taking and teaching courses, climbing peaks, and donating time and money for environmental advocacy and youth programs, The Mountaineers needed a way to recognize their members’ contributions and skill levels. To let them do this, we created a badge system for their Plone website:

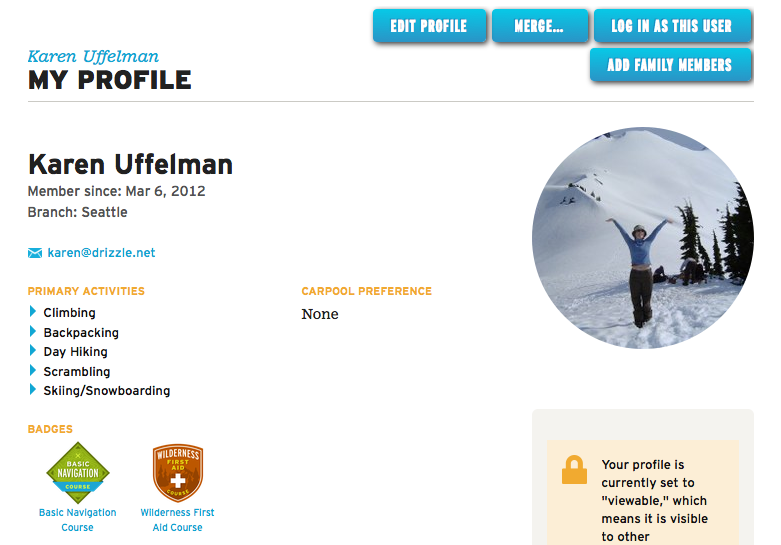
Members who complete milestones like graduating from a course or summiting a set of peaks are awarded a badge, which shows on their profile page.
This feature was easy to implement because of another Plone add-on, collective.workspace, which we had already created to provide roster functionality for The Mountaineers’ courses, activities, and committees, allowing each participant’s role, registration status, and other information to be managed. Here are instructions for how to create a badge system on your own Plone site with the help of collective.workspace. The screenshots are from a Plone 5 site but this will also work in Plone 4.
- Add collective.workspace to your buildout:
[instance]
eggs = collective.workspace
-
Start Plone, go to the Add-ons control panel in Site Setup, and activate collective.workspace.

-
Go to the Dexterity Types control panel and add a Badge content type.

-
Add an image field to hold the badge image.

-
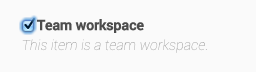
Go to the Behaviors tab and enable the “Team workspace” behavior.
-
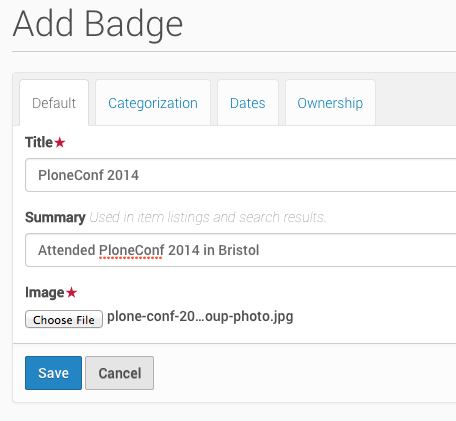
Now add a Badge to the site.

-
There’s now a Roster link on the toolbar when viewing the badge.

-
On the roster, we can add a user, indicating that they have been granted the badge.
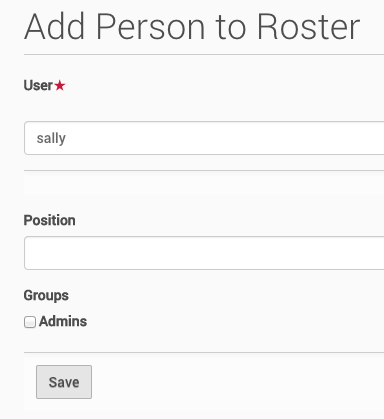 (Position is more useful for a committee roster. Selecting the Admins group gives the user permission to help manage this roster.)
 -
Now the user shows up on the badge roster.

-
This isn’t particularly useful unless we make the user’s badges show up somewhere. Customize the author template and add this TAL:
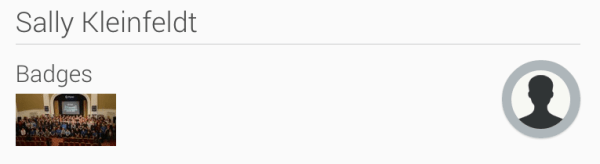
<div> <h2>Badges</h2> <tal:b repeat="badge python:context.portal_catalog(portal_type='badge', workspace_members=username)"> <img src="${badge/getURL}/@@images/image/thumb" class="image-left" title="${badge/Title}" /> </tal:b> <br style="clear: both;" /> </div> - Now the assigned badges show up on a user’s profile!


That’s it! Enjoy your new badge system!


Trackbacks